I got worms (the name of Harry and Lloyd’s pet store… Dumb and Dumber… remember?? Sorry, I couldn’t help myself) 🙂
First off vermicomposting is
Composting + Worms = Vermicomposting
Many of us have a compost pile already. Compost is a wonderful way to recycle your leftovers and enrich soil for your garden. With Vermicomposting you are doing it even more so. The worms multiply they shed and they create a worm tea, which is a beautiful organic fertilizer… but that comes later.
First off, let’s talk about how to set up your worm farm… small scale. We are going to be moving our worms to a bathtub soonly, but for now we are using just a plain ole rubbermaid tote box.
Then once you get your tote, drill or cut some small air holes.
Then you want to take shredded paper, newspaper, cardboard and get it moist.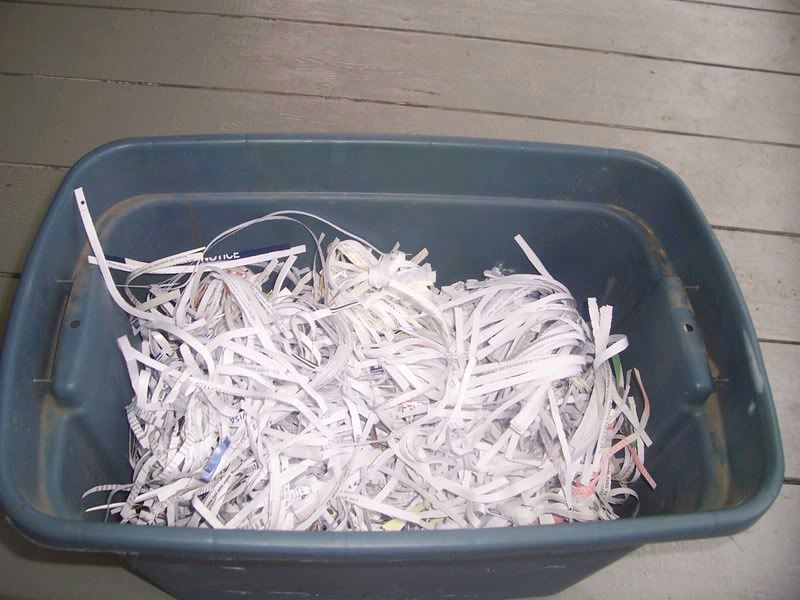 Next, fill with some good soil. Now you want this place moist but not soggy, you don’t want to drown your little fellas. Sorry, I don’t have a picture of adding soil.
Then your worms… You know that you have really started to change when you go online to buy worms rather than shoes or clothing… Here is what my worms looked like when they arrived.
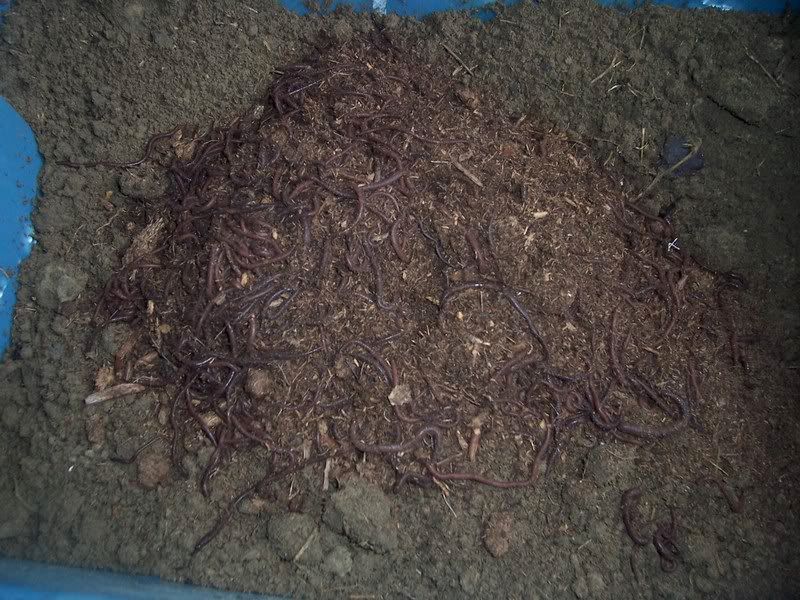 “You mean to tell me you BOUGHT worms???” A question from my sister
  Yes, I did buy these worms. You can’t use just any ole worm for this, you want a composting worm, and red wrigglers are just right for the job. You can’t just dig up worms in your backyard for this one.
Here is a close up shot, just for your enjoyment. 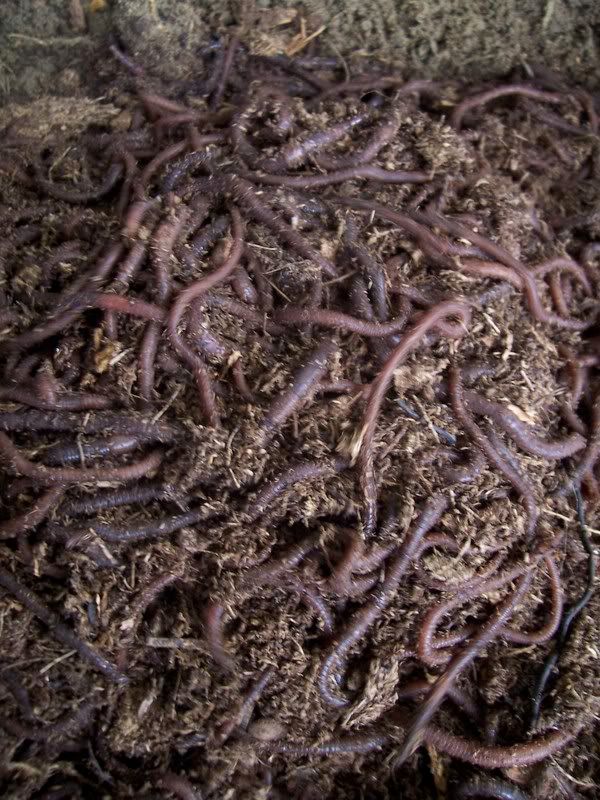 Nice, eh? That is 1000 of those little guys.
Now what do you feed them???
Anything that was once alive… fruit scraps, veggies, dead plants, paper, hair, the lone sock you find in your dryer, eggs and so on. Be sure to limit citrus peels and onions, they are quite strong.
Our little guys are getting an old sock and some dead flowers, oh and an apple core…
It is better to cut up the food that you are giving them, it helps them to break it down faster… but I am just eager to see that sock go from a full sock to no sock… so that is why I left it in one piece!
Bon appetit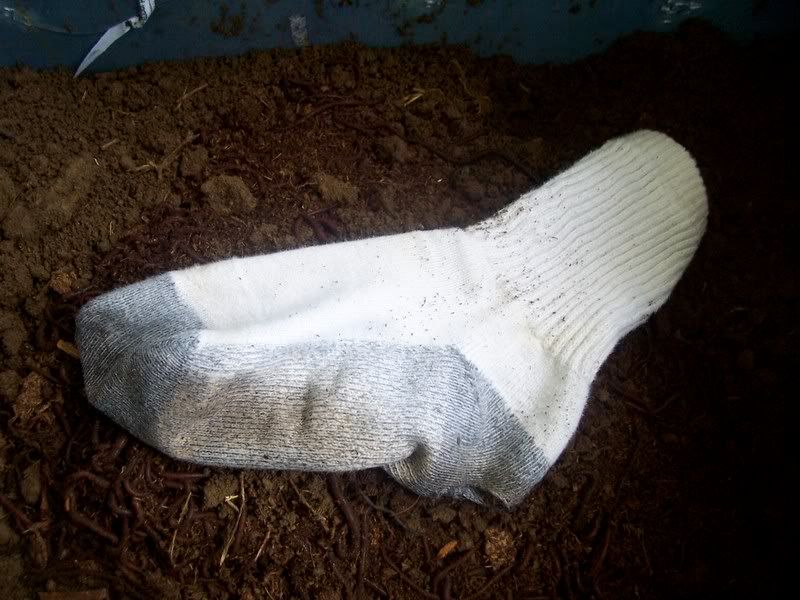 You want to dig the food down in there with them a bit, and stir them up when you feed them.
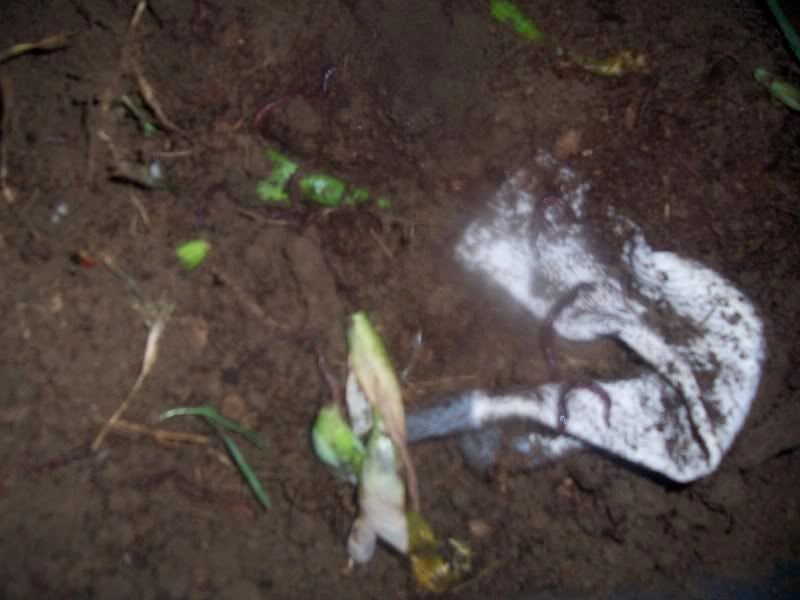 Also be sure to keep the farm humid and moist. Don’t let them dry out, a spritzer bottle would be a good thing to have on hand.
Finally take some sheets of newspaper and lay them across the top and moisten them, it helps to keep them down in the bin, so they can do their job. 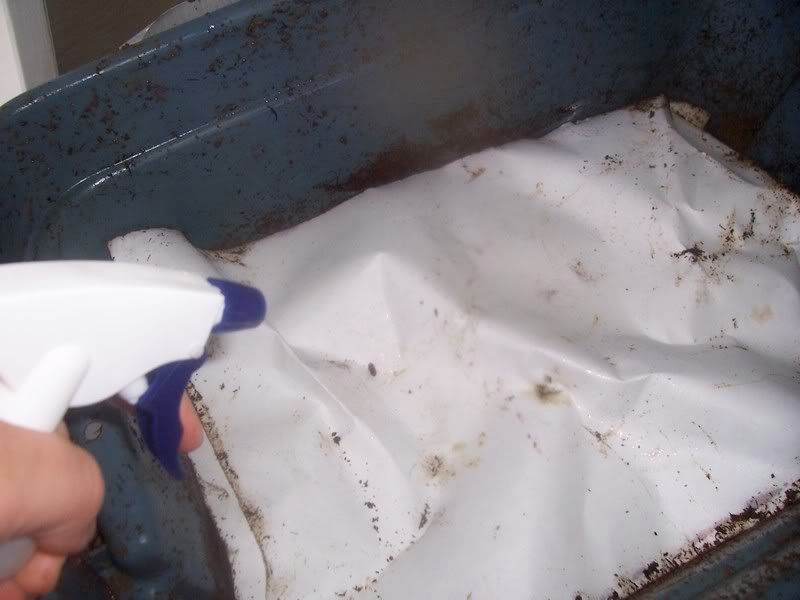 Then you can add your lid, and voile you have your worm farm!!!
When I transfer them over to the bathtub, I will make a new post with pictures on that too.
And that is when I will be able to share with you about worm tea!!!
Have a great day friends!!
Chas - Homemaker, Homesteader & Mother Hen
More About Us


Footer
Welcome
I’m so glad you stopped by, I hope you enjoy your visit! I post our life in pictures and a few words, recipes to remember, thoughts I want to ponder, and whatever comes our way.