• Skip to primary navigation
  • Skip to main content
  • Skip to primary sidebar
  • Skip to footer

Heritage Acres Homestead

Chas - Homemaker, Homesteader & Mother Hen

  • Home
  • Homeschool
  • Homestead
  • Cooking
  • About
  • Shop
  • Amazon Storefront
  • Show Search
  •  
Hide Search

Make your own Window Stars

Chas · February 12, 2015 · Leave a Comment

Many years ago I read a blog that I absolutely adored. It was always filled with such wisdom and love and she had such a heart for her home, her family and the Lord. It was a joy to read. 
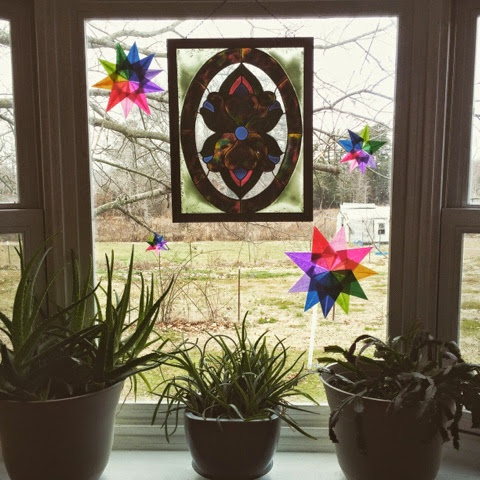
That was the first time I had seen a window star. I thought they were so beautiful and they looked lovely as the sun poured in of the morning and gave a bright and cheerfulness on a gray day.
I learned how to make them for myself and this morning I am teaching my children to make them as well. It doesn’t take much, and it doesn’t have to be perfect. You can tell that mine above is not perfectly spaced, but it is still quite pretty. 
All the supplies you will need is some tissue paper in the colors you want, scissors, a glue stick and some tape.
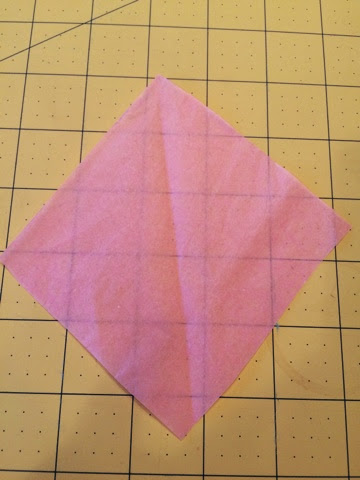
Cut your squares. For the one I made above, it is a 10 point star, so you need 10 even squares. I believe mine is about 4 inch imperfect (haha) squares.
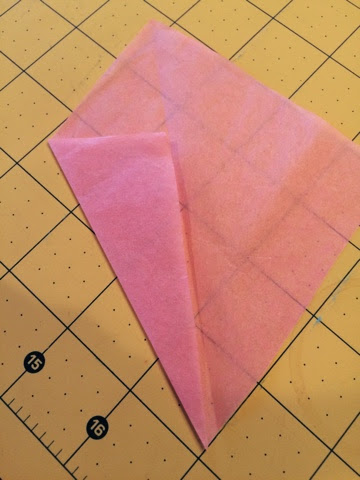
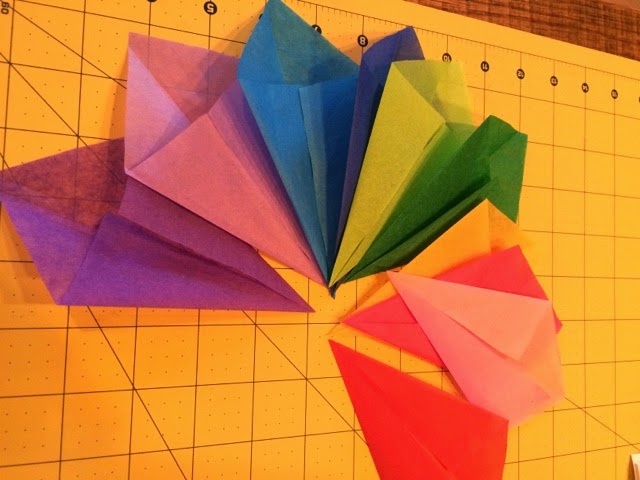
Take your square and fold it in half so you have a middle seam. Unfold paper and take one side and fold it to the middle like what I did above.
Fold the second side in also. You want a nice point at the end and if the pieces meet perfectly in the middle that is great, but if they don’t… it’s ok. Don’t fret about it. 
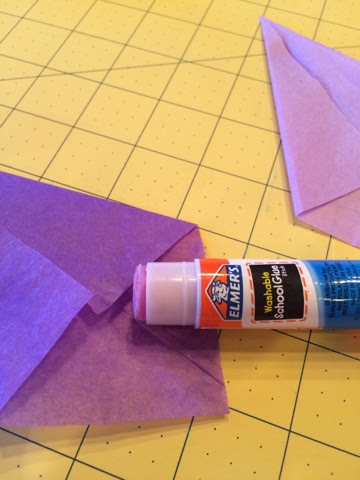
A little dab of glue on each piece your just folded in, so they will stay together when you assemble your star. 
Gather all of your pieces and decide on an arrangement of color. 
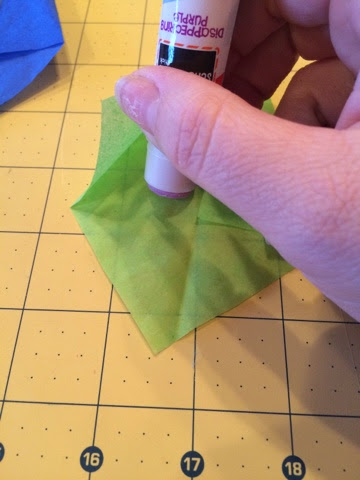
Take each folded piece and begin with the unfolded point as your middle. Arrange each piece overlapping slightly and adding a dab of glue to hold it together. 
Once you get all the way around, flip the star over. Iron gently if desired and hang. 
I used tiny pieces of tape on the back of each point to help hang mine. 

Enjoy your work of art! 

Filed Under: crafting, family, handmade, homekeeping, Homemade, homemaking, homeschool, homeschooling, learning, mothering

Reader Interactions

Comments

  1. Abbi says

    February 16, 2015 at 10:26 pm

    That is really pretty. It looks like a fun, happy project to make and put on our big southern windows.

    Reply

Leave a Reply Cancel reply

Your email address will not be published. Required fields are marked *

Primary Sidebar

About Me

Chas

Hi there! My name is Chas! I'm a homemaker, homesteader, a crafter, a homeschooling mom, a wife, a believer, a GRANDMOMA, a lover of good REAL food and coffee, a seeker of health and wellness, and I'm exceedingly fond of deep, hearty, laughter and JOY in life! Read More.

Search Topics

Social Icons

  • Facebook
  • Instagram
  • YouTube

Email Newsletter

Sign up for my email to get goodies in your inbox!

Amazon Storefront

See my recommended products!

Spring Features

Slow weekending

March 15, 2021

December has come and almost gone…

December 29, 2020

Fall on the Farm

November 11, 2020

More About Us

Footer

Latest Posts

  • It’s kidding time!
  • Sourdough Crackers
  • Out with the old, in with the new

Welcome

I’m so glad you stopped by, I hope you enjoy your visit! I post our life in pictures and a few words, recipes to remember, thoughts I want to ponder, and whatever comes our way.

Find it here

Copyright © 2023 Heritage Acres Homestead · Powered by Optical Lift · Log in